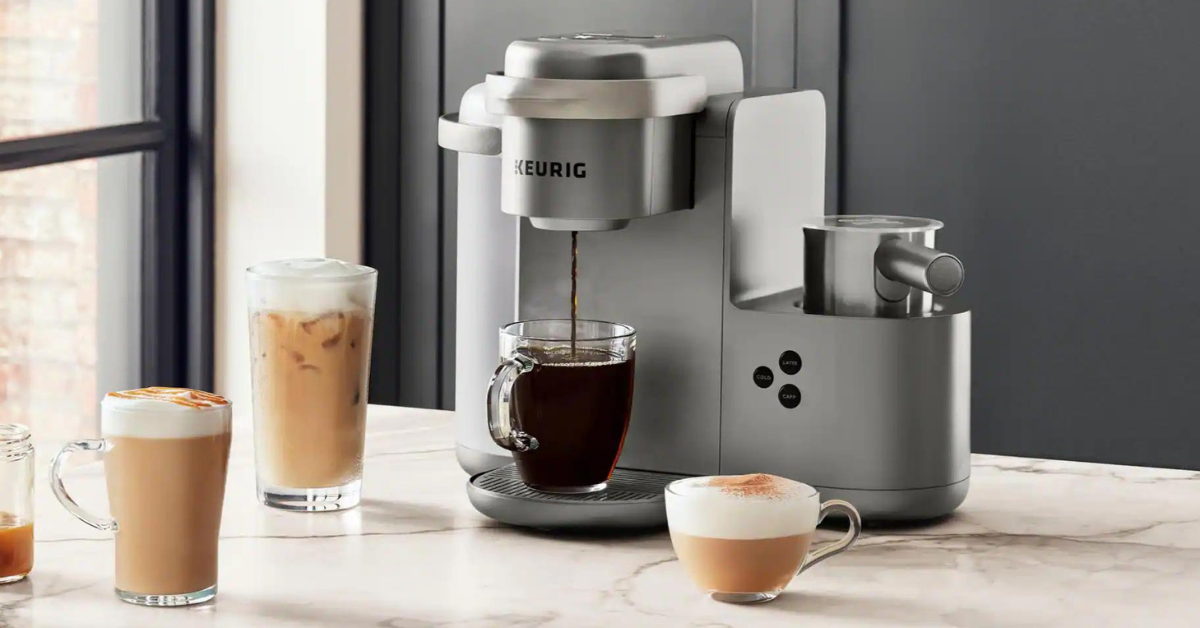

But now that you’re staring blankly at your machine trying to figure out how it works… You wish you didn’t throw it away before reading.
It’s an honest mistake, and I have a solution for you.
I know how a Keurig machine works by heart.
So I’ll share with you everything you need to know on how to use a Keurig, without all the boring stuff from the manual.
Let’s get straight to the point.
Table of Contents
You can’t jump straight to brewing.
Your new Keurig machine needs a setup first.
First, let’s get technical. You need to put the parts together and prepare it for a test run.
Of course, this also means you need to remove any protective tape or film covering the plug – your machine won’t be able to receive power with these things on.
Set up your machine close to a grounded outlet.
Now, I know, all modern homes have them.
But just in case you live in a mid-century home, you should know that a Keurig machine can only work with grounded outlets.

Pick a mug to place under the coffee spout.
Now, the actual size of the mug depends on your Keurig machine.
With the Keurig K155, for instance, you can make a cup as small as four ounces. K-Mini, on the other hand, allows you to make twelve-ounce drinks.
Keep in mind: With some models, you might need to remove the drip tray to fit a cup of the size you want.
Finally, the only thing that’s left for you to do is to choose the settings for your coffee.
Depending on the Keurig model, you might choose between four to twelve-ounce cup sizes. But the majority of Keurig models make six, eight, and ten-ounce drinks.
Some models offer other setting options aside from the size of your brew.
With a K-Select, for instance, you can choose between a regular and strong cup of coffee.
Other models, such as K-Slim, allow you to make an iced version of your favorite drink.
And then we have models that go as far as allowing you to choose the brewing temperature, like the Keurig K-Elite.
So depending on what machine you have, play with the available settings if you want to.
Once done, press the brew button.
The whole process should last about a minute or so. You’ll know your coffee is ready when the machine lets out a large burst of air.
If you want your Keurig machine to serve you well for a long time, you need to take proper care of it. This involves both everyday and periodic maintenance.

Still, have unanswered questions about the way Keurig machines work?
Keurig coffee makers come with water tanks of different sizes, and it’s always recommended to fill them up completely when replacing water.
But to brew coffee, you need to have two ounces more water than the size of your drink. This assures the machine doesn’t overheat from lack of water.
According to Keurig, you can’t use a pod more than once. But many people have successfully made two cups of coffee with a single pod. With that being said, the taste and aroma might be slightly watered down for the second brew.
However, sometimes the machine won’t recognize the already used pod, so you won’t be able to use it again.
While technically you can put some other liquid than water in a Keurig coffee maker, the brand strongly suggests against it. The machine is built to only handle water through the system. Any other liquid can leave a residue that will permanently affect the way the coffee maker works.
As you can see, a Keurig coffee maker is an easy one to operate with.
When setting up for the first time, it’s important to do a cleansing brew first. This assures your new machine is in optimal condition to make good coffee.
Brewing is as easy as ABC. Just put the pod in place and select your settings – the machine will do the rest.
Even the maintenance is not too much of a hassle with this machine. Just make sure to clean the exterior and removable parts every once in a while, before they get grimy. As for descaling, it won’t hurt to do it more often than needed.
Now that you have all the info you need, go finish up that cup of coffee – don’t let it sit out for too long!
How useful was this post?
Click on a star to rate it!